Battle of St. Maria
This article is incomplete because it is pending further input from participants, or it is a work-in-progress by one author. Please comment on this article's talk page to share your input, comments and questions. Note: To contribute to this article, you may need to seek help from the author(s) of this page. |
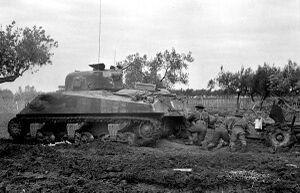
The Battle of St. Maria (12 December - 19 December 1942) was a battle that took place at the St. Maria Fields just near Kaitu River. It was one of the only two remaining routes of escape for the Imperial forces during the Battle of the Khost Pocket. Here, Allied and Imperial armoured clashed as the Imperials tried to keep the route open while the Allies attempted to destroy and cut-off the Imperials further, denying the St. Maria Bridge to the Imperials.
Although the Imperial forces had their backs against the wall, they still offered strong resistance against Allied forces. ERUAC forces led by Erebonian General Brian Regnitz was tasked with closing the Raitu River route before swinging south to Hill 745 to assist the Bethausians in closing the last remaining route of escape. REAF aircraft commenced bombing raids against the bridge in an attempt to prevent Imperial forces from escaping further. However, the bridge structure was too strong that it took at least 5 days before the bridge finally collapsed on 18 December 1942 after repeated air raids. After the destruction of the bridge, Imperial forces attempted to fight their way to the south where Imperial forces encountered Bethausian forces making their way to Hill 745. Ultimately, the remaining units at the St. Maria plains were forced to surrender after exhausting fuel and ammunition, subsequently allowing Regnitz to swing south to relieve the Bethausians defending Hill 745.
